
A2O LITE NEON Dance Tutorial
Learn the A2O LITE NEON duo intro with a mirrored 0.5× practice clip, six movement phases, partner spacing tips, and a short rehearsal plan.
Last updated: 2026-10-21
This A2O LITE NEON dance tutorial breaks the 15-second duo intro into six clear sections. It is an independent practice guide, not an official choreography lesson. Use the original performance as your final reference, keep every movement within a comfortable range, and stop if a turn, bend, or kick causes pain.
Watch the mirrored 0.5× practice clip
Stand as if the screen were a mirror: when the dancer on screen moves toward one side, move toward the same side from your point of view. The clip below is horizontally mirrored and slowed to half speed so you can study spacing, entrances, arm paths, level changes, and the finish.
The slow clip lasts about 30 seconds. Learn the shapes first, then return to normal speed. Because the source uses camera cuts and rotation, treat the timestamps as visual landmarks rather than an official count sheet.
Before you start
- Clear enough space to step sideways and lift one leg without reaching furniture.
- Wear shoes that suit the floor and avoid slippery socks on a hard surface.
- Warm up ankles, knees, hips, shoulders, and neck with small, controlled movements.
- Decide who is Dancer 1, the person visible at the opening, and who is Dancer 2, the partner who joins.
- Mark the routine at low intensity before adding speed, hair movement, or a higher leg accent.
Phase 1: opening stance and solo focus
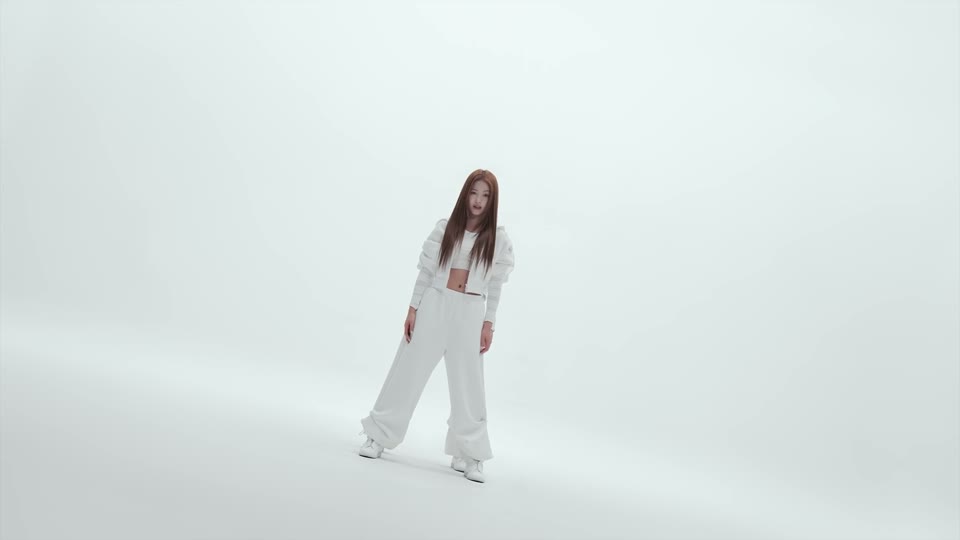
Approx. 0:00–0:02 · Dancer 1 establishes the center before the partner reveal.
Dancer 1 begins in a wide, grounded stance. Keep the knees soft and the shoulders loose instead of locking the pose. Practice transferring weight without letting the feet slide together. Dancer 2 should already know the entry path and wait outside the frame or behind the opening dancer.
Practice cue: hold the opening shape, shift weight once, then return to center without bouncing upward.
Phase 2: partner reveal and shared line
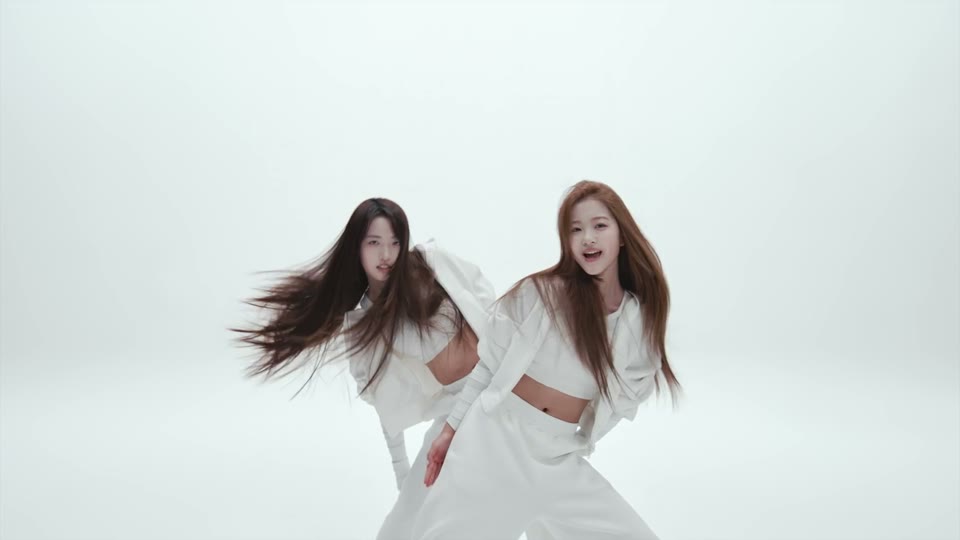
Approx. 0:02–0:03 · Dancer 2 becomes visible while both performers keep a staggered line.
The entrance works because the two bodies do not occupy exactly the same line. Dancer 2 joins slightly behind or beside Dancer 1, then matches the direction and energy. Rehearse the entrance without arms first: walk into place, freeze, and check whether both faces and upper bodies remain visible.
Practice cue: give the front dancer enough room to turn without colliding, but stay close enough that the pair still reads as one unit.
Phase 3: hand and arm accents
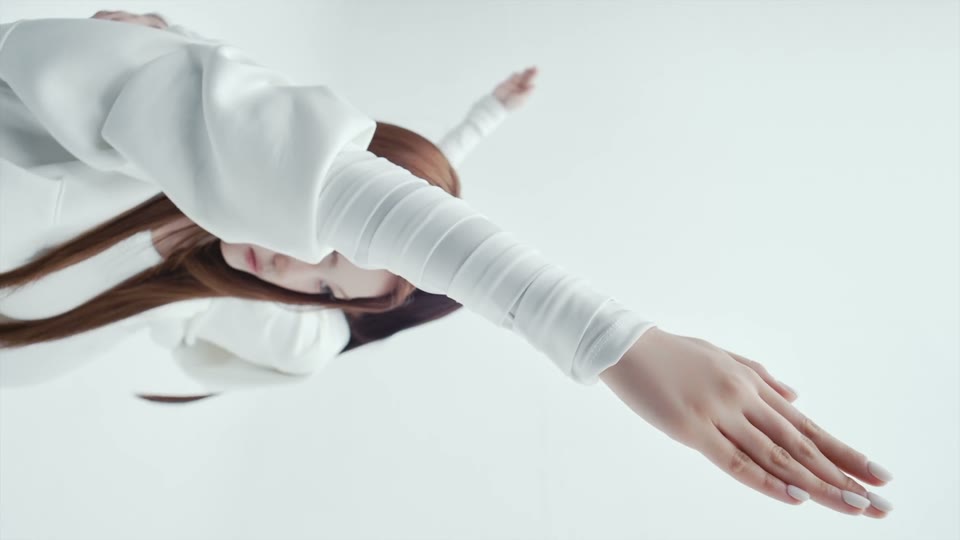
Approx. 0:03–0:05 · The edit emphasizes clean arm paths and a clear stopping point.
Practice the arm path separately from the feet. Start smaller than the finished movement, keep the wrist aligned, and stop the hand deliberately instead of letting it drift. Once both partners can repeat the same endpoint, add the lower-body rhythm.
Practice cue: think “travel, stop, release.” A clean stop usually looks more synchronized than a larger but late gesture.
Phase 4: side travel and formation reset
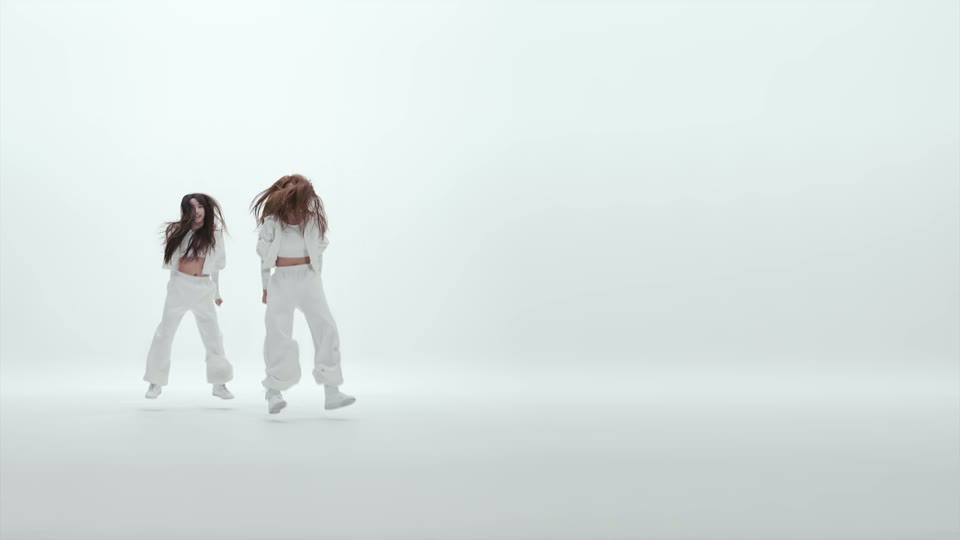
Approx. 0:05–0:09 · The pair travels while preserving a readable gap.
This section is less about covering distance and more about keeping the formation stable. Mark the foot pattern with small steps, then add the upper body. Both partners should agree on the same endpoint on the floor. If one person travels farther, the pair will look unsynchronized even when the timing is correct.
Practice cue: place two small floor markers and finish the phrase on them before increasing speed.
Phase 5: low bounce and rebound
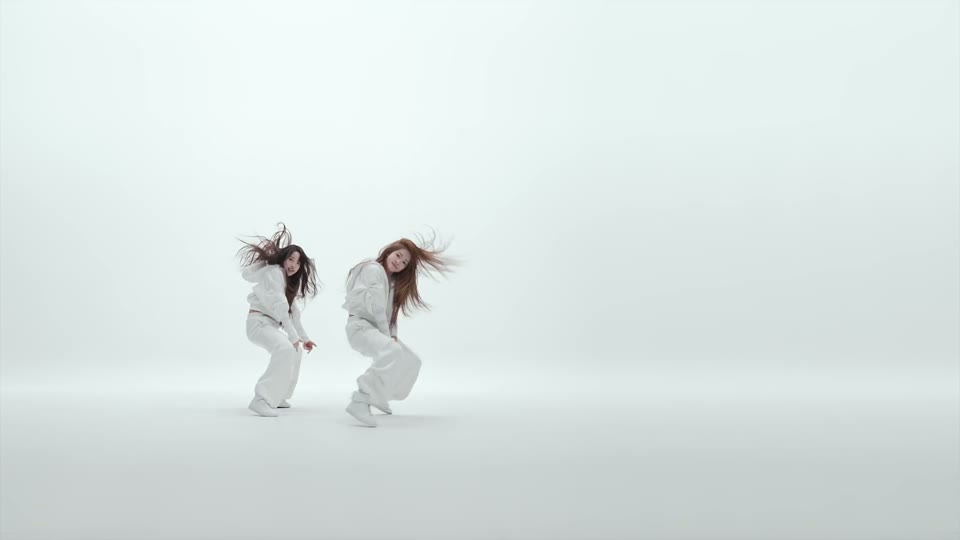
Approx. 0:09–0:11 · Both dancers lower their level, then rebound into the next accent.
Lower through the hips and knees while keeping the chest supported. Do not force the depth shown on screen. A smaller, controlled level change is safer and often easier to synchronize. Rehearse the return to standing as carefully as the drop so the next movement does not feel rushed.
Practice cue: keep knees tracking in the same direction as the toes and choose a depth both partners can repeat comfortably.
Phase 6: leg accent and finish
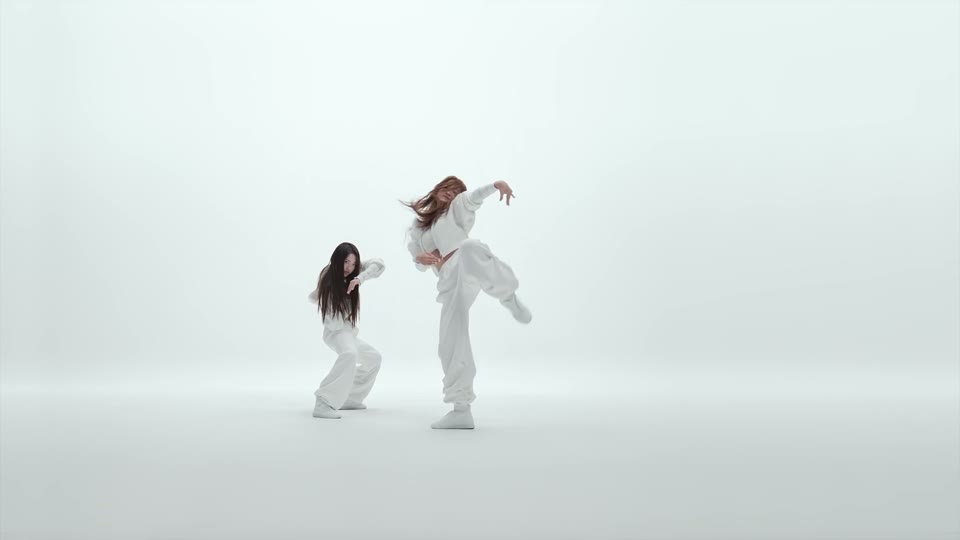
Approx. 0:11–0:15 · A leg accent leads into the final shared picture.
The visible leg accent should come from balance and timing, not maximum height. Practice by lifting the knee first, extending only as far as you can control, and placing the foot down quietly. The partner should keep enough distance to avoid the moving leg and arrive at the final shape on the same beat.
Practice cue: make the landing the goal. A lower accent with a stable finish is better than a high kick that pulls the pair off time.
A 15-minute rehearsal plan
- Three minutes: watch the mirrored clip twice and name the six phases aloud.
- Four minutes: mark only feet, entrances, and spacing at half effort.
- Three minutes: practice arms and level changes without traveling.
- Three minutes: connect the full phrase at 0.5× and then at a comfortable faster speed.
- Two minutes: record one take, review spacing and timing, and change only one thing before trying again.
Common problems
The second dancer disappears behind the first
Increase the diagonal offset instead of moving much farther sideways. Check the formation from the camera position, not only from where the dancers stand.
The arms look late
Reduce the range and agree on the stopping point. Synchronization depends more on arriving together than on matching maximum extension.
The low section feels unsafe
Stay higher. The routine can be practiced with a shallow bend, and no visual result is worth knee, hip, or back pain.
The final accent is unstable
Practice a knee lift and controlled landing before adding any extension. Keep the supporting foot planted and use a nearby wall only during isolated balance practice—not during a full-speed take.
Prefer to make the dance from photos?
You do not need to learn or film the choreography to make a personal version. The two-photo AI dance generator uses one permitted adult photo for the opening performer and one for the partner. Read the mobile creation guide or see how to make a version for a couple or two best friends.
Frequently asked questions
Is this the official choreography tutorial?
No. This is an independent visual breakdown for practice. Use official performance material as the final reference for exact choreography and credits.
Is the practice clip mirrored?
Yes. It is horizontally flipped so you can follow it like a mirror, and it plays at half speed.
Do I need two people?
You can learn either role alone, but the spacing and reveal make the most sense with two dancers. Mark the partner's position when practicing solo.
Can beginners learn the intro?
Beginners can mark the sequence with smaller arm paths, shallower bends, and a knee lift instead of a higher leg extension. Increase speed only after the transitions feel controlled.